School Loop Help Doc - FUSD
Elementary Teachers (and full site Editors) should receive a registration email from system@schoolloop.com. All Secondary Teachers have been registered with School Loop due to Gradebooks. Login to School Loop (small black button in lowest right corner)
Each School has it's own School Loop editing URL so you need to go to the School site first (for example: brier.fremont.k12.ca.us) - not the District site - then scroll down to Log/Sign in - thanks
 [LOCATION DETAIL]
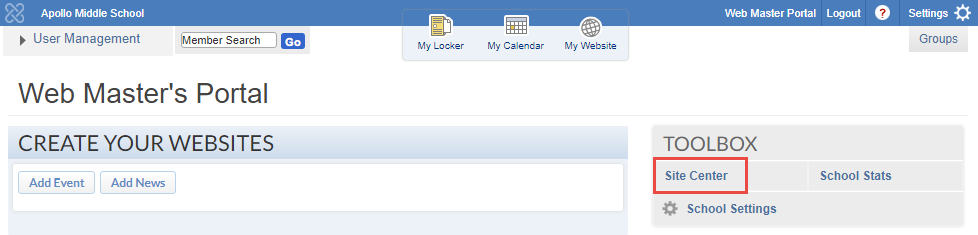
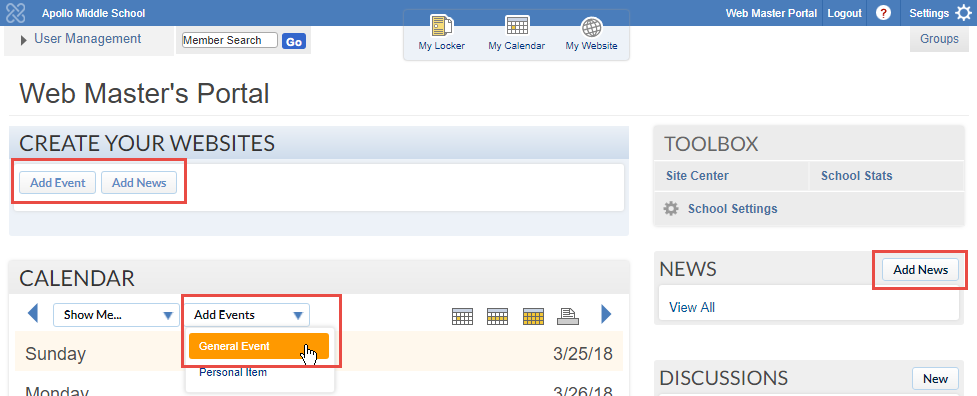
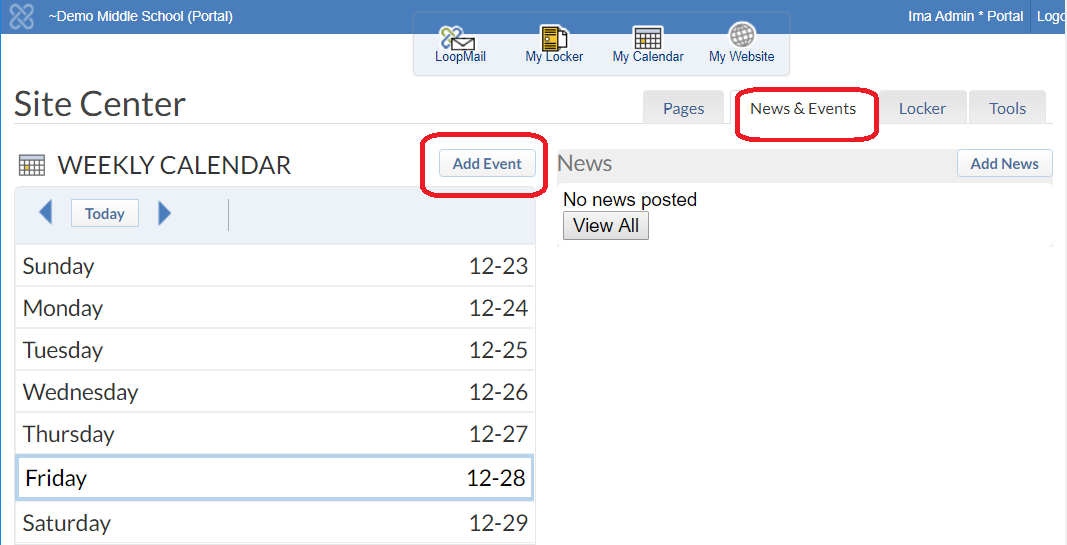
On your Portal page you scroll down to the right to find box with Header WEBSITES or MY SITES and then a folder icon and click it. Page 8 on Google Slides Link (not "My Website" circle/world icon on top - that is a Secondary Teachers Edit Link) If you have full site editing rights for the school you will use Site Center under Toolbox. No changes for Google Sites teachers.
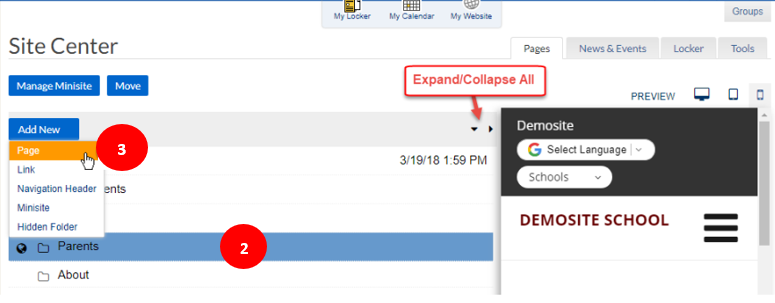
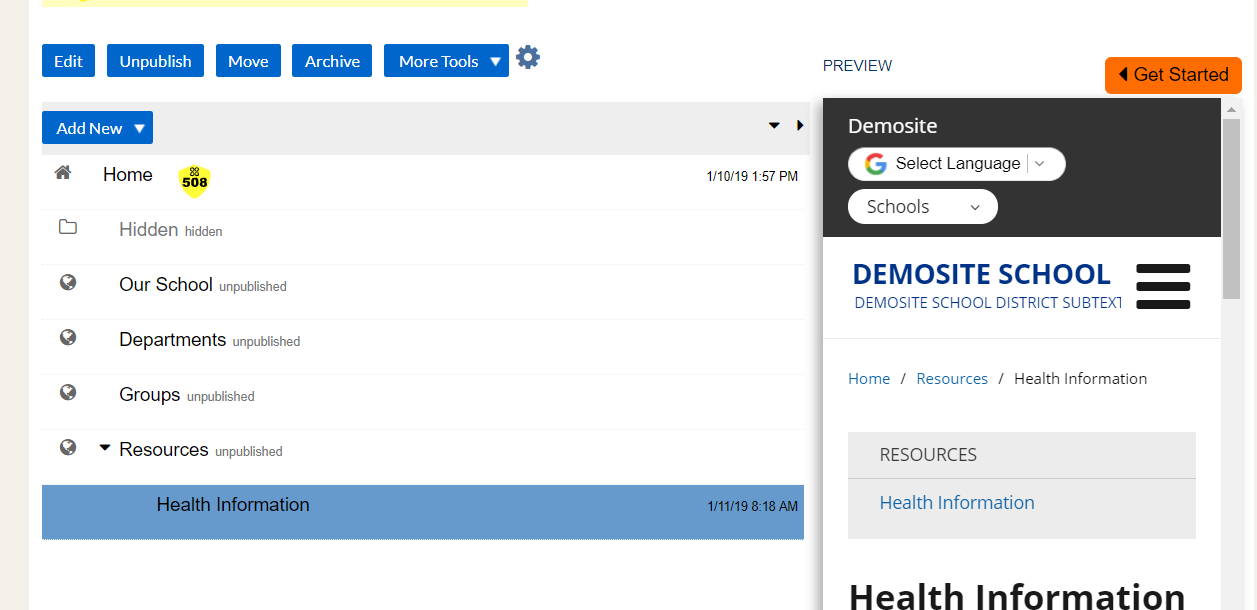
After you get to your Minisite you should be able to edit or make new pages from this screen
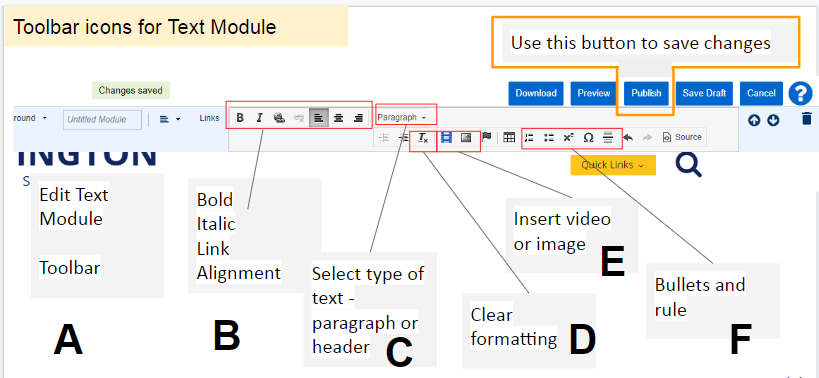
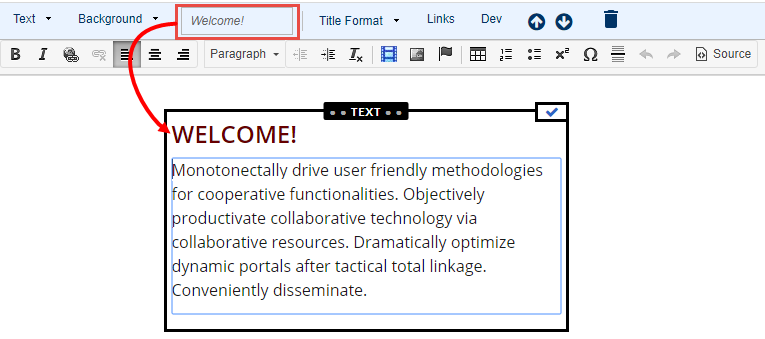
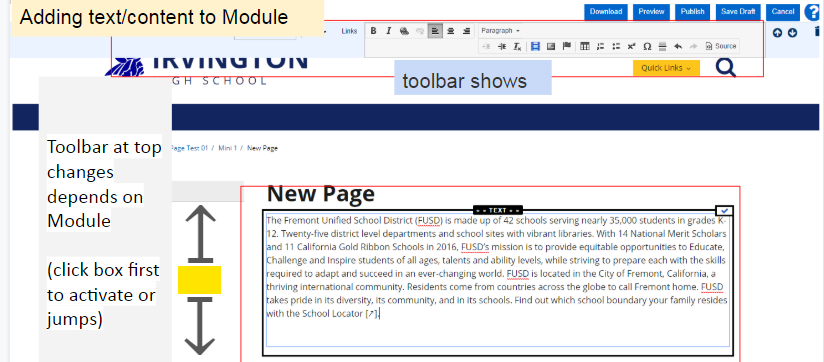
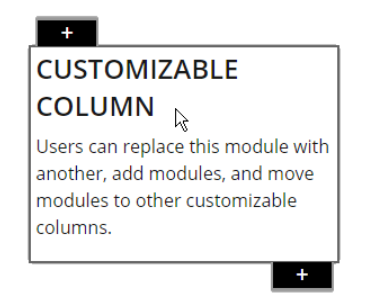
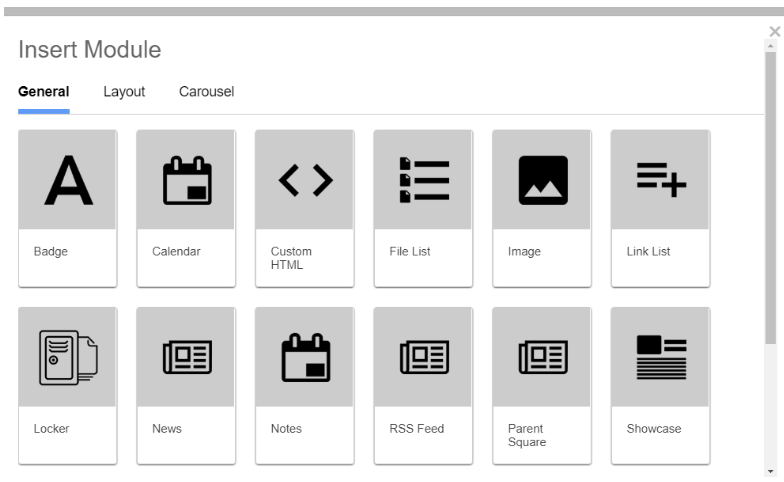
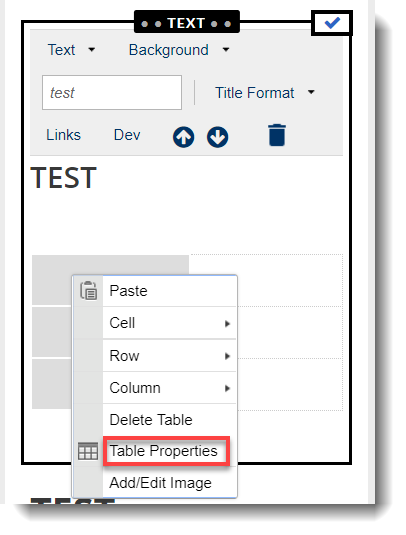
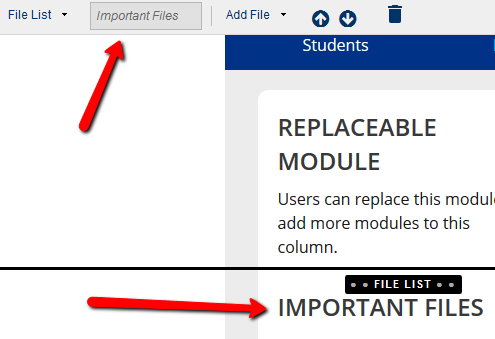
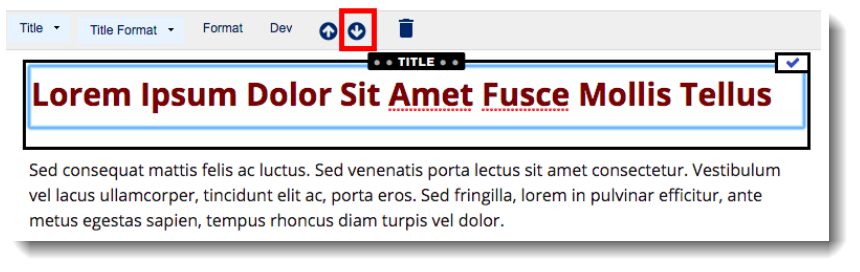
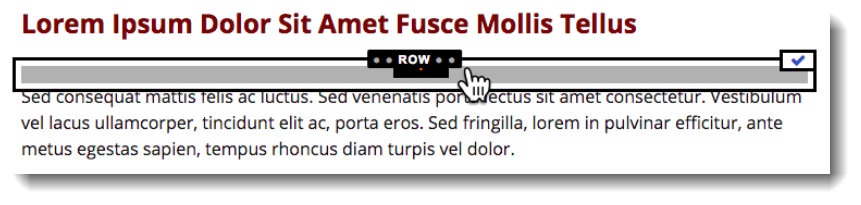
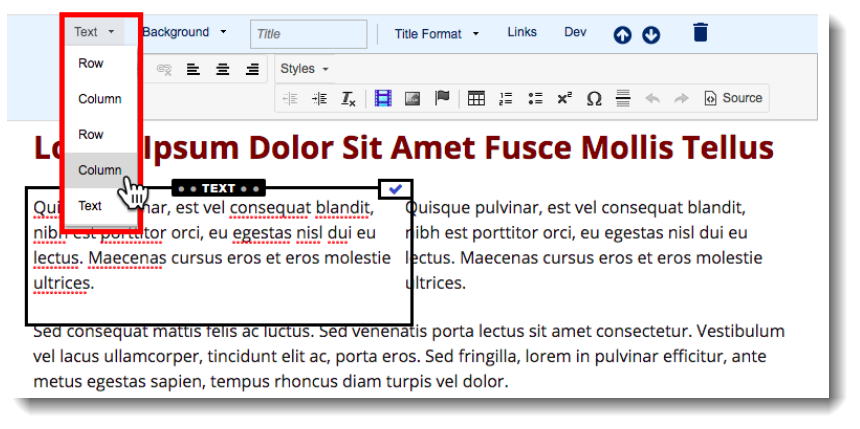
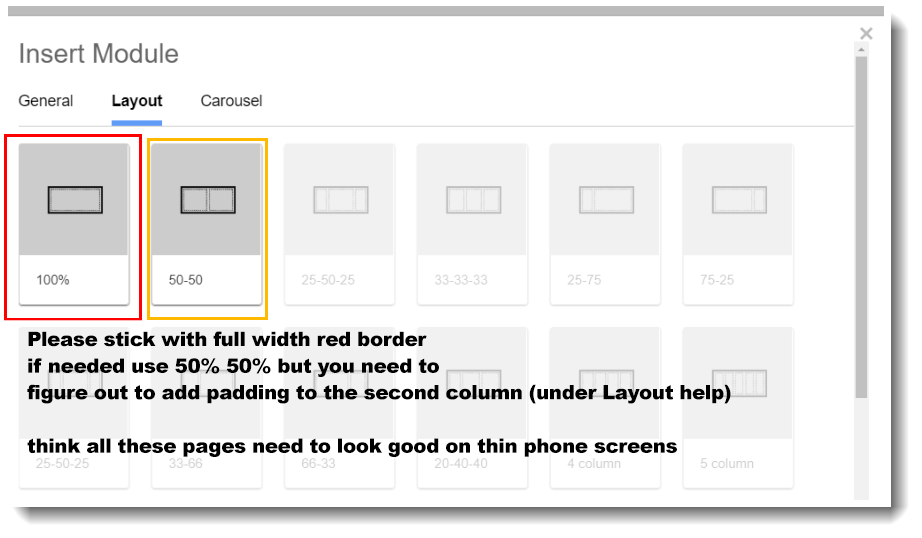
The new tool is different and that can be stressful. If you build a test page and not publish it but Preview it you can practice without messing up you current content. It is "inline" so you need to activate the page content boxes - called Modules - first by hovering the mouse around the page then clicking to select the area to edit - THEN you are in the editing mode.
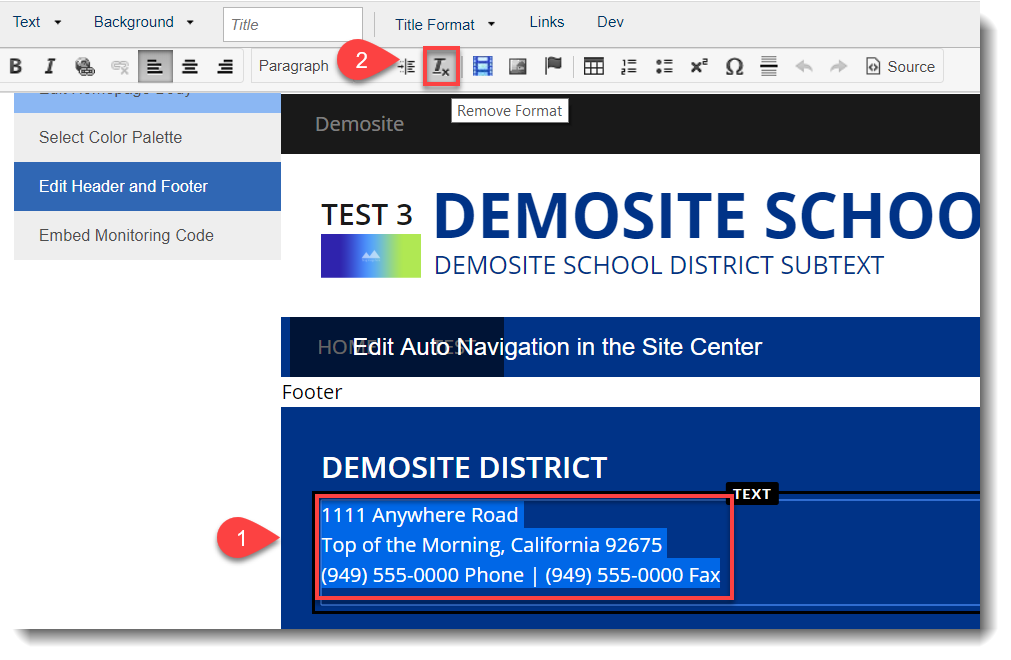
Note: The new SL publishing tool has limited font colors (none) and please do not use underlined text for emphasis - links use underline.
Presentation on editing pages http://goo.gl/C4Cgn8 helpful to understand the general approach to the new tool.
If you have CRITICAL info for your page you can send an email bpaine@fremont.k12.ca.us with the school, page name and content.
[Find My Minisite]
ALSO this page has a long scroll of Step by Step instructions see jump links below. ↧ ↧ ↧
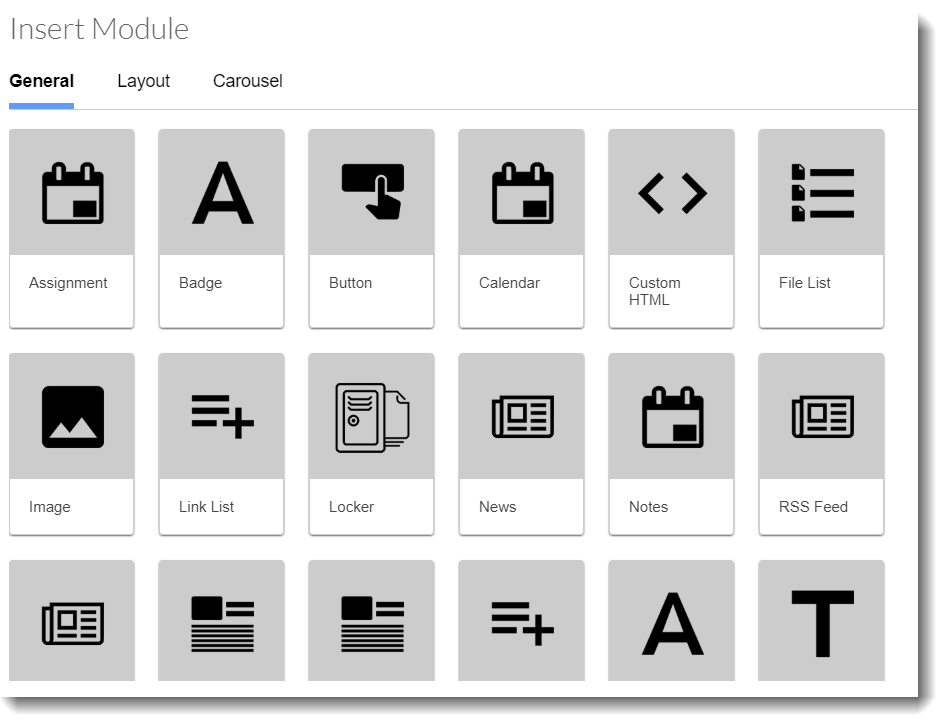
More links and pdfs on editing
At an Elementary School - have Site Center access? Use this pdf to add a Newsletter then find/copy the link and add it to the front Updates.
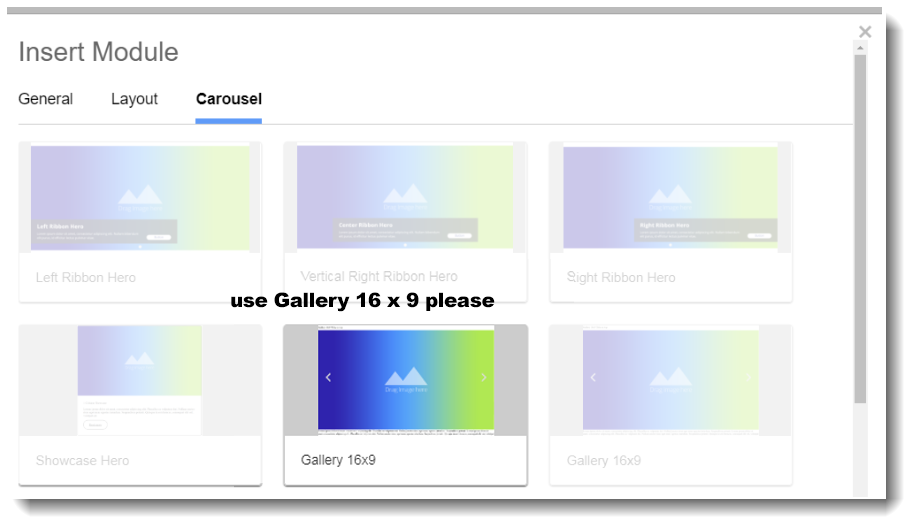
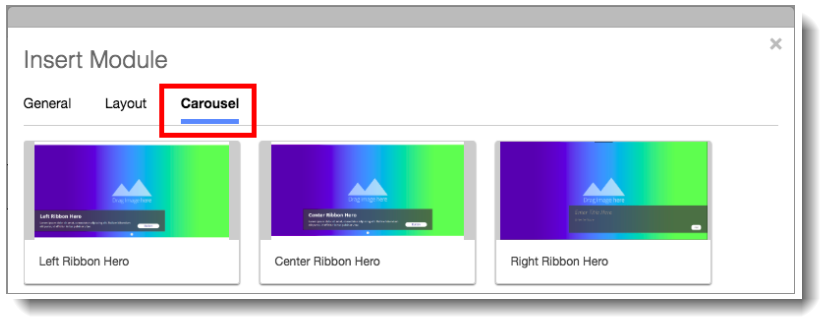
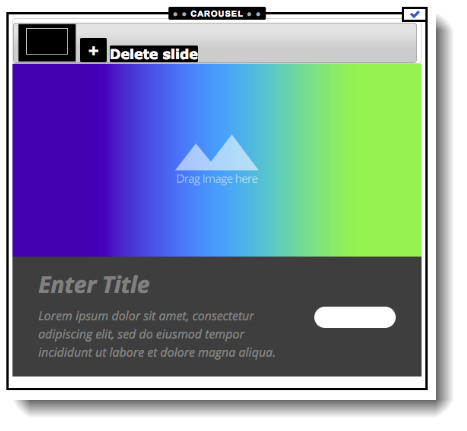
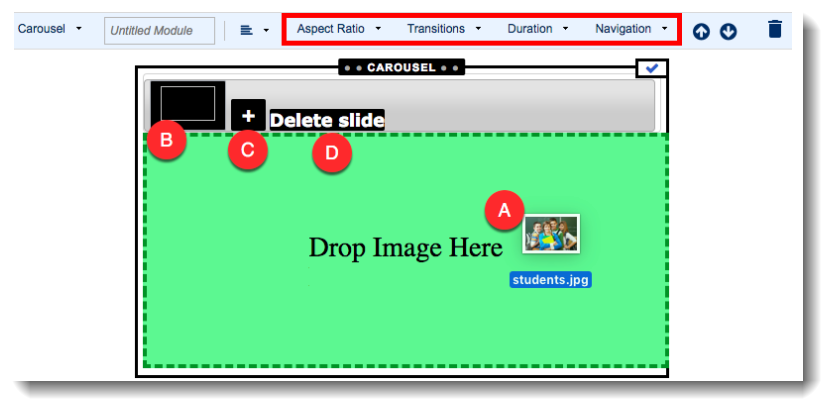
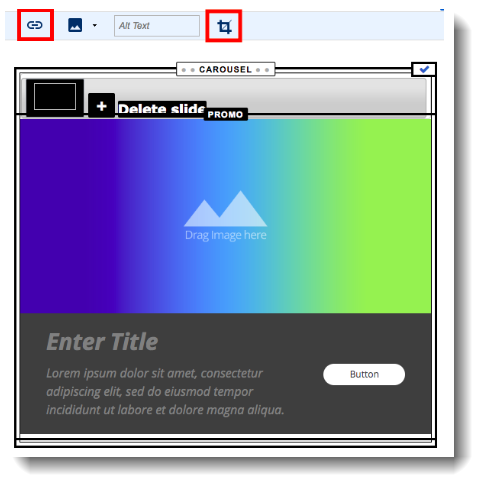
Prepare an Image for the front page Slideshow/Carousel Pdf with Screen shots
For Site Wide Editors Pdf that talks about routing News/Updates
Video about working with Pages | More Videos
We can ignore this error message in School Loop for now. Site contains 508 errors or any yellow icons - those warnings are only seen by editors - not the public
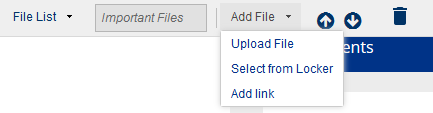
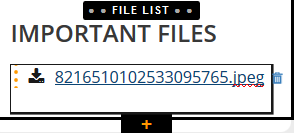
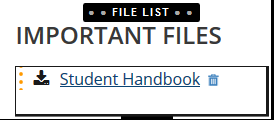
Extra School Loop Help (working with files)